This article will talk about nodes in Bitcoin and the Lightning Network context. As a major proponent of the Lightning Network, we are excited to help you better understand and navigate the technology.
If you are not familiar with the Lightning Network, check out our Lightning Series.
So, what is a node in cryptocurrency?
A node is a software that connects to the blockchain network and exchanges the latest blockchain data with each other. Its primary purpose is to record every transaction on the blockchain network, making the blockchain transparent, immutable, and decentralized.
Different blockchains may have different types of nodes, each with individual properties and functions. In this article, we will elaborate on the nodes in Bitcoin and the Lightning Network.
Nodes in Bitcoin & the Lightning Network
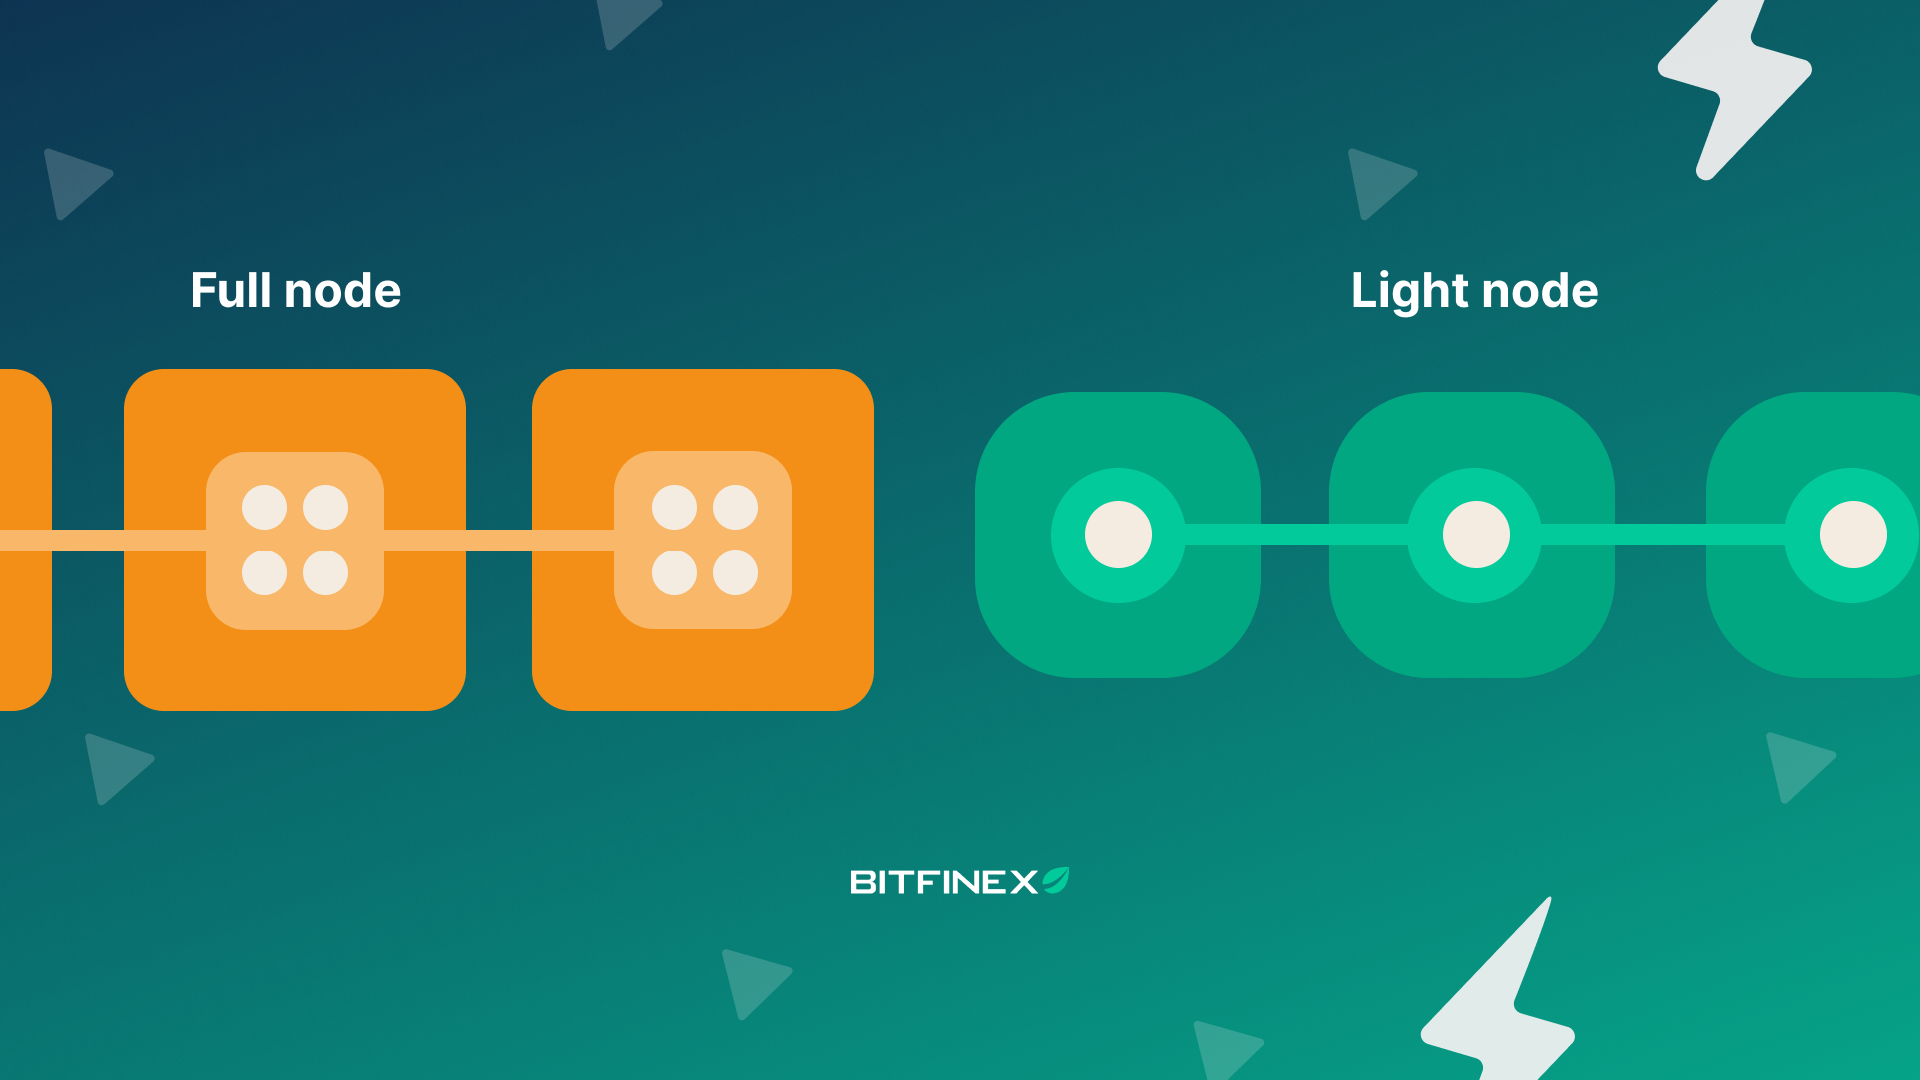
There are two kinds of nodes in the Bitcoin network.
Full node
A full node keeps a copy of every transaction on the network, verifies transactions, accepts new blocks, and then broadcasts the new transaction to other nodes.
Light node
A light node doesn’t store the whole blockchain, only a tiny part of it. Light nodes download block headers (a section in a block that summarizes the rest of the block) to verify data and then transactions.
On the other hand, there are specialised nodes, called miners. Miners are computers solving a mathematical puzzle and adding transactions to a block; they receive transaction fees and block rewards in exchange. Whereas Bitcoin full nodes verify transactions, but do not receive block reward. That being said, there are other reasons that encourage people to run a full node, such as contributing to the overall security of Bitcoin’s network and increasing the security of transactions, which is crucial if you plan to conduct numerous bitcoin transactions in a day.
Nodes in the Lightning Network
A Lightning node is software that connects and interacts with the main blockchain network and also within the Lightning Network itself. The main blockchain here refers to any blockchain network, on which LN is applicable, such as Bitcoin and Litecoin.
Nodes in the Lightning Network differ from those in the Bitcoin network, mainly in how they verify transactions. Nodes in the Bitcoin network must verify every transaction on the blockchain, while the Lightning nodes only verify the transaction that is interacting directly with it.
A Lightning node is the gateway into the Lightning Network. You need to have at least one node running to be able to explore the LN technology and enjoy everything it has to offer. Thanks to decentralisation, anyone can run a node, regardless of the network they’re using.
What are the advantages of running a node?
1. You contribute to the network.
2. You will have full custody of your crypto.
By running your node, there’s no need to trust intermediaries with the custody of your coins. Moreover, you don’t have to worry about trusting another node’s information because you will download the blockchain’s entire history into your node.
3. You can earn some sats by routing payments.
Once you start running your node, you could pass Lightning payments across the network and earn a few sats in exchange.
Learn how to run a Lightning Node
Thanks to the innovation and development built on top of the Lightning Network, running a node is not as hard as it seems. Here’s the step-by-step guide:
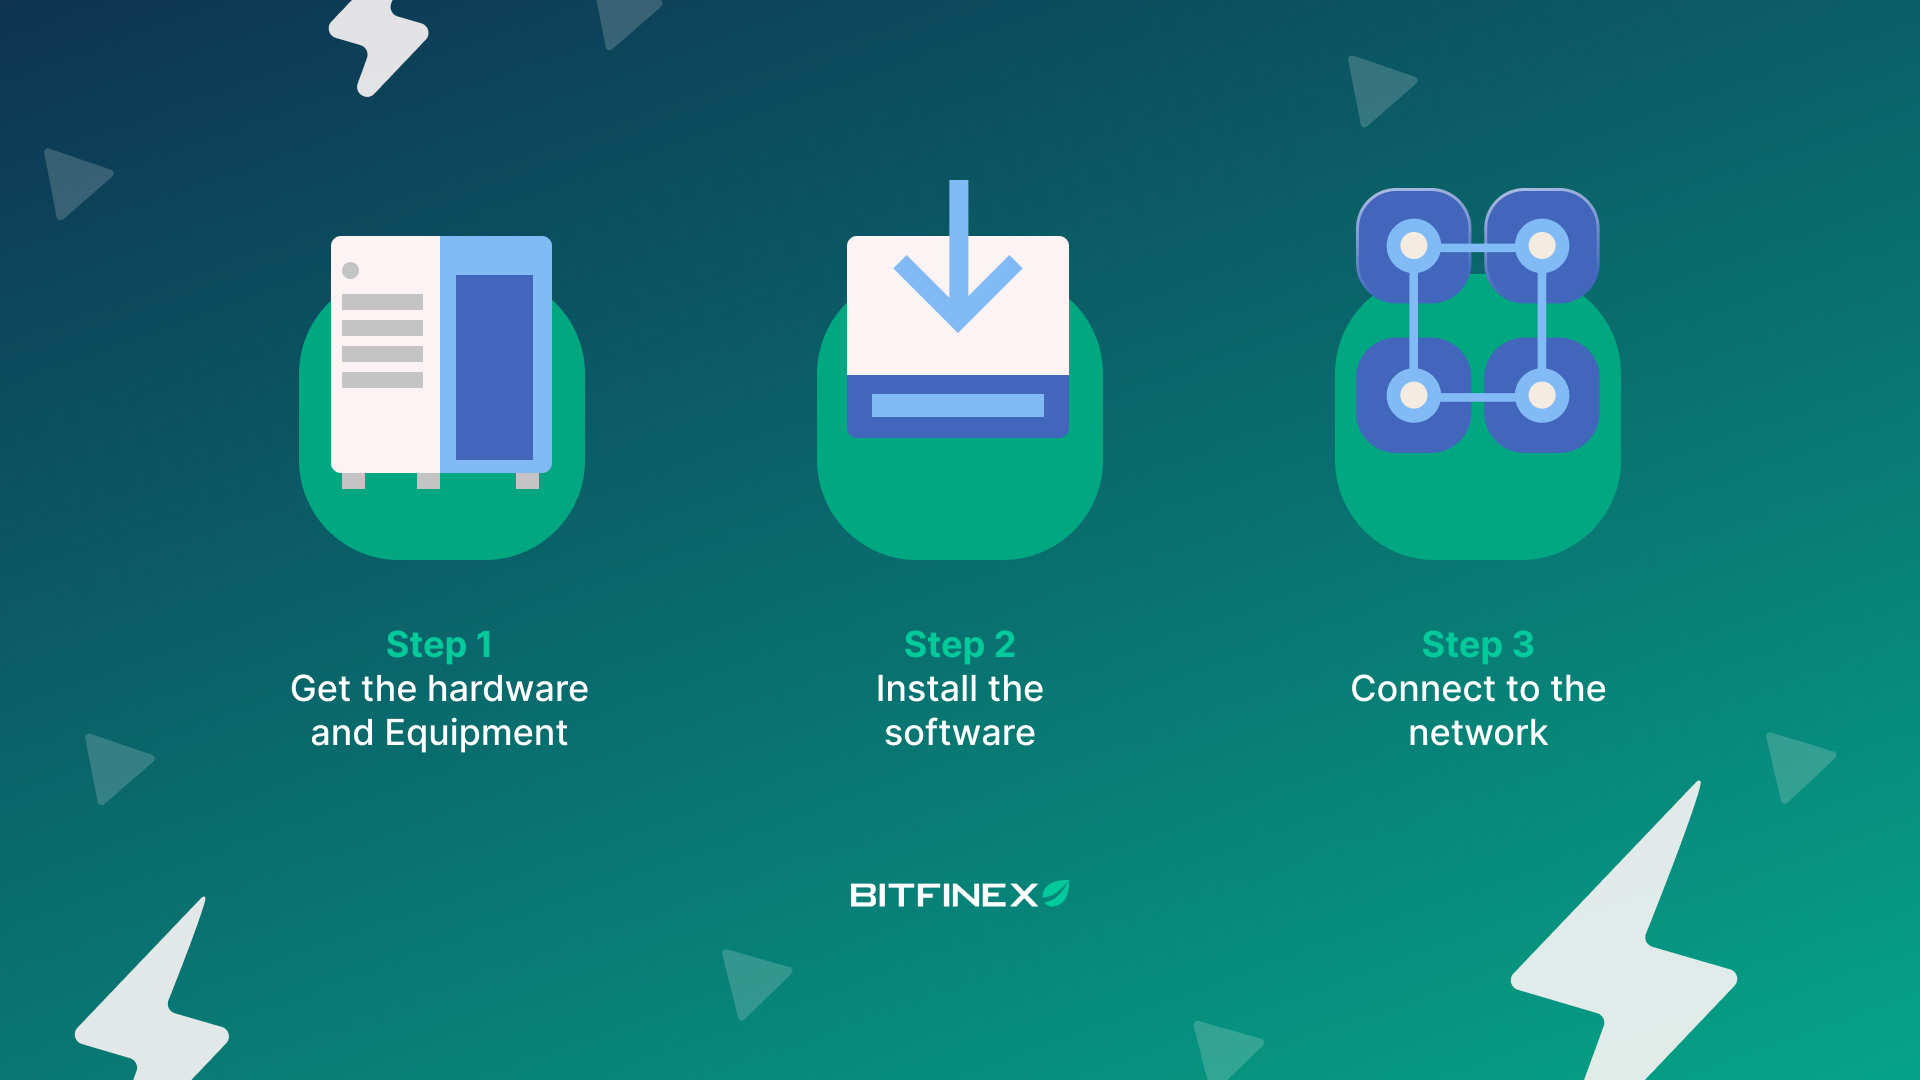
Step 1: Get the hardware and equipment
Running your noderequires an initial investment in hardware.There are quite a few options out there—one of the most user-friendly ones is Raspberry Pi.
Other equipment that you need to prepare are:
Micro SD card and 1 terabyte SSD hard drive for data storage
LCD screen 3.5″ RPi Display, GPIO connection, XPT2046 Touch Controller
5FT Ethernet cable
Power source
Please note that you don’t have to buy a Raspberry Pi device to run your node; you can do it with your computer. However, running your node on a dedicated device will minimize the attack surface of the software environment. Attack surfaces can be digital and physical, therefore a computer that is also used for navigating through the internet will be more vulnerable to a digital attack.
Step 2: Install the software.
The Raspberry Pi needs to be loaded with a specific software—RaspiBlitz—and written on the memory card.
Raspberry Pi Imager is the easiest way to install the software into your Raspberry Pi device. Look for a tutorial online for your operating system and follow the instructions. Here’s also a video that will help you use Imager.
As an alternative to RaspiBlitz, separate software such as Umbrel can also be installed on a Raspberry Pi computer or a regular PC.
Step 3: Connect to the network
Once you have installed the software, a step-by-step guide will take you through setting up a wallet and load it.
The next step would be to download the blockchain. Keep in mind that this process can take several hours to a couple of days.
Finally, open a lightning channel, connect to a node, and that’s it. You’re all set to start sending BTC from your node!
Connect to Bitfinex Lightning nodes to route payments
When you run a Lightning node, you must then open one or more payment channels to another node to route payments through them, otherwise, the node will not be able to send payments.
Pro tip: You need to open a channel to a reputable node with an excellent capacity to send BTC over the network.
A node with high capacity means more bitcoin is locked into that node than other nodes. Here you can see a visualisation of the subset of nodes and their payment channels with each other.
With two Lightning nodes, Bitfinex has, at this date, a combined public capacity of over 260 BTC. These nodes provide the network with two payment routing services with low fees.
Connect to Bitfinex Lightning nodes!
The post The Lightning Nodes – A beginner’s guide appeared first on Bitfinex blog.