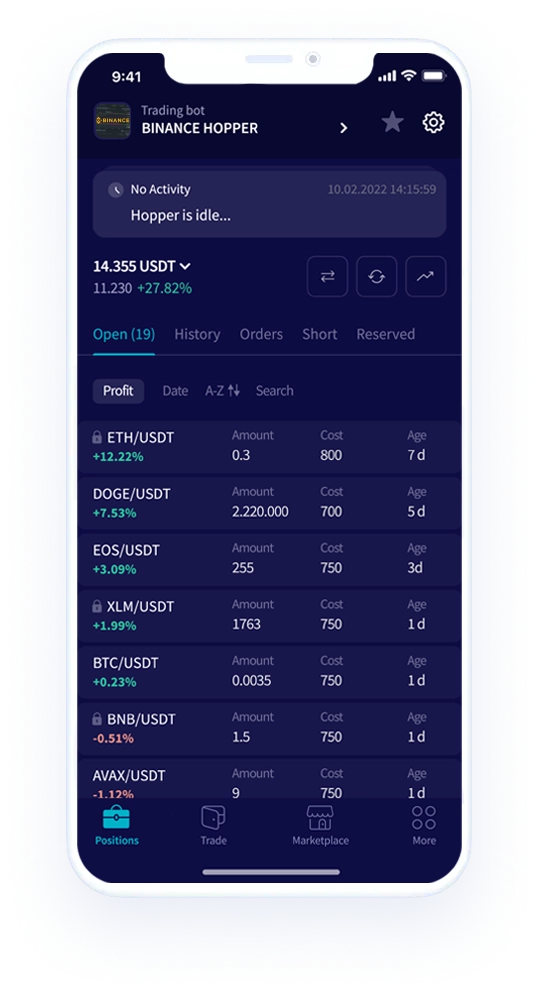
In this tutorial, we’ll learn how to create multiple Hoppers and select which template you want to use.
It’s possible to manage multiple Hoppers under one account.
Beginners can also use a template to get started.
New Subscription
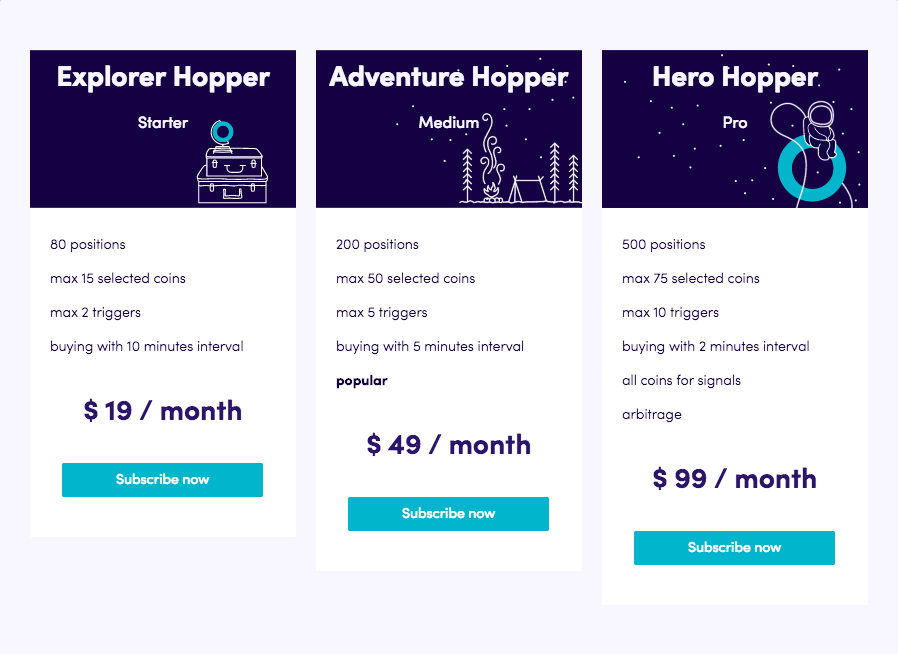
The first step is to buy a new subscription. Remember that one subscription activates just one Hopper!
You can purchase them at the “Subscriptions” tab at the bottom of your dashboards menu.
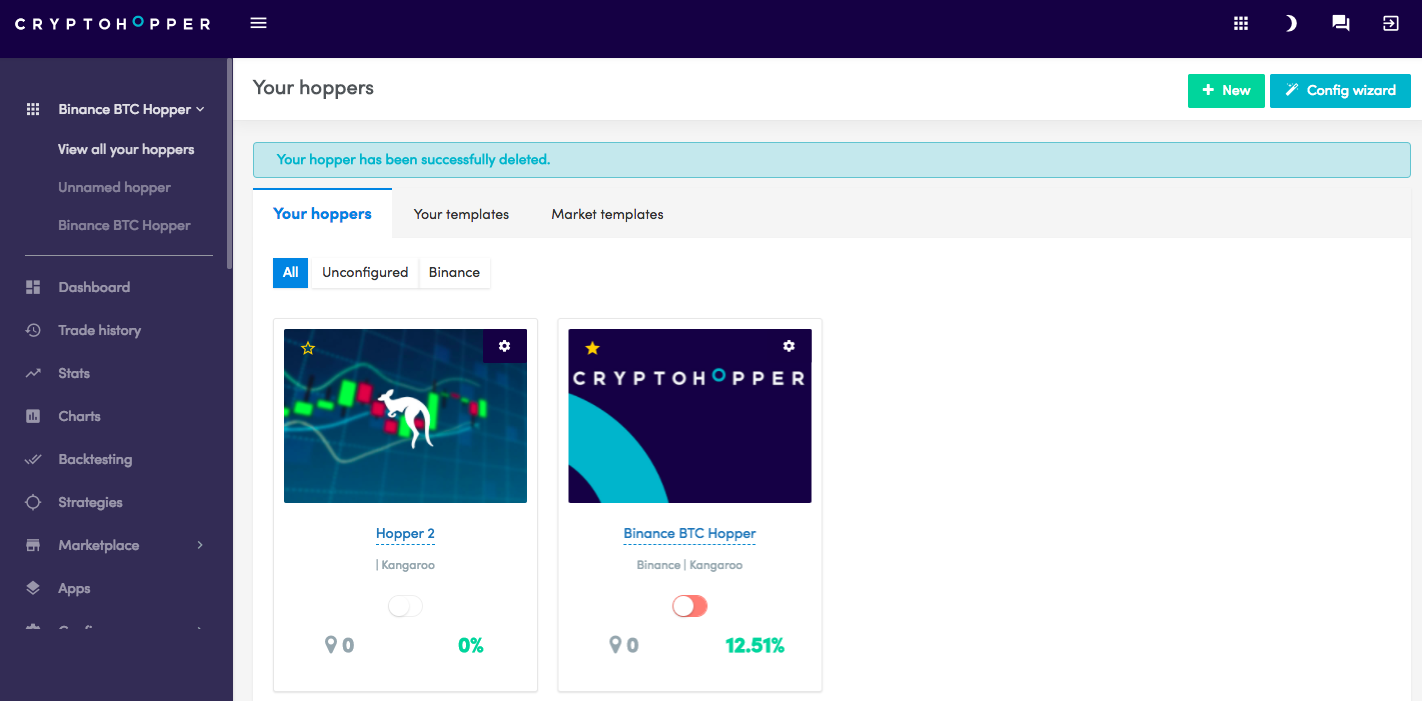
Go to Your Hoppers & Create a new Hopper
In the menu and the top right corner of your dashboard is the button to navigate to “Your Hoppers”. Then, click the "+New" button.
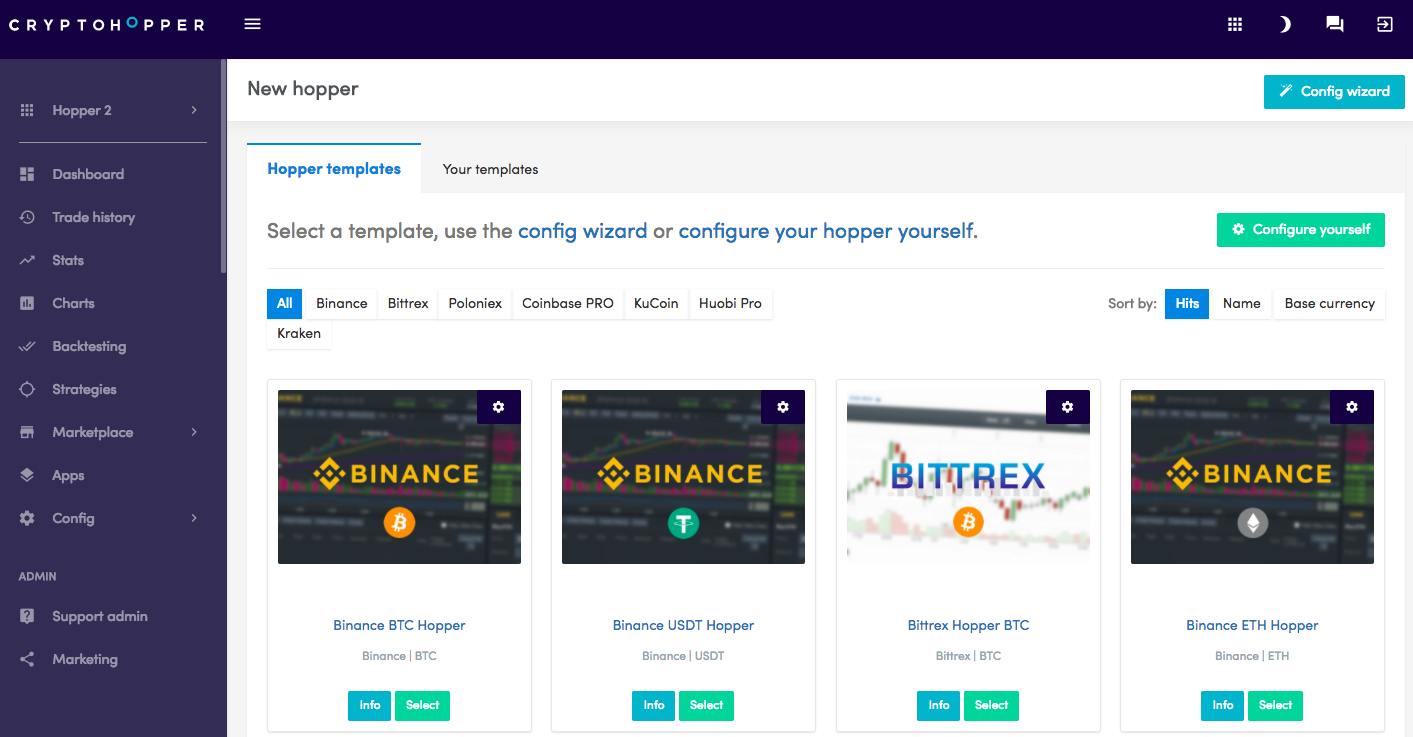
Set up Hopper template
Simply choose the template that matches the exchange you’re using and select a quote currency for your trading pairs.
When choosing your quote currency, keep in mind that you are to some extent betting against this coin.
Especially, when the price of your quote currency strongly appreciates this can mean that you will see losses.
For beginners on a Starter (Trial), we recommend starting with a GDAX Hopper.
Another interesting template is the CoindicatorBot template. However, note that to select all the coins, you’ll need a Pro package.
Click the “info” button for more info, click the “load” button to choose that particular template.
(Note: if you do not want to use a template, click the “Config Wizard” button)
Activate & Connect
Now copy your API Key. Click the save button.
Don’t know where to find your API key or how to create one? Read one of the tutorials covering how you can set up your hopper with the different exchanges.
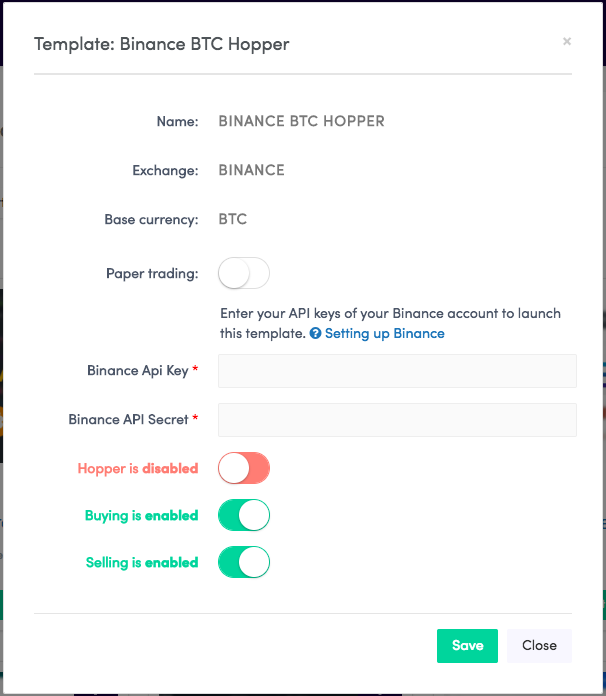
And you’re done! Create as many hoppers as you like and easily manage them from one account.
It's ideal for business owners, fund managers or if you want to manage the hoppers of your family members. Please watch our video about managing multiple hoppers Here!
